Here’s How To Craft Your Own Kite For Easter
by Lou-Ann Jordan Apr 3, 2023
Kite flying is a popular and dearly loved tradition in the Caribbean. Though people fly kites at different times in the year, Easter is undoubtedly the time of year and holiday when they blanket the sky buzzing merrily.
Possible Asian Origins
The practice of kite flying is said to have originated in China during the Han Dynasty. Legend has it that General Han Hsin flew the first kite, as a military strategy. General Hsin flew a kite over an enemy’s city wall to determine the distance of a tunnel his men were digging. The kite aided in his men accurately digging the length and resulted in their victory.
Later, kite flying spread from China across East Asia to India. As the love of this pastime spread the designs and representations became more distinctive and culturally diverse. While, Chinese kites display mythological characters, and Japanese reflect heroes or folklore, kites in India are thematic.
Kite flying as a Caribbean Tradition
Throughout the region, kite flying is a fun Easter tradition. A tour of the region will reveal familiar designs as well as unique versions. Beginning in Guyana, the star-shaped kite, a favourite, is exciting to fly. In Trinidad, you can take a ‘pull’ on a massive mad bull, and stop off in Grenada to enjoy the whizzing of a colourful plastic or newspaper kite. Now, we warn you that the Grenadian bamboo kites make a sound very similar to mosquitos and locals leave their kites up at night. Many have slapped themselves thinking a pesky mosquito was buzzing around.
As you continue your travels, Dominica presents a combination of homemade hexagon kites or store-bought from which you can choose and Barbados offers an experience of colourful homemade kites. Also, in Jamaica, you can join in flying a box or boat kite.
With all this talk of kite flying, it’s likely you may want to get in on this activity this Easter. Here are two options.
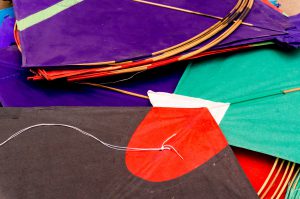
Pre-made kites
First, you choose to go with a pre-made kite. These types of kites are easy to access. Usually, at this time of the year, kite artisans ply their ware hoping to attract potential shoppers. Select one from among these vibrant and artfully crafted kites then grab a bobbin of thread or twine. Next, all you have to do is find the perfect spot. Choose somewhere windy and away from electric poles and wires.
Homemade kites
Alternatively, you can immerse yourself in a long-existing tradition, and make your kite. We know pre-made kites are more convenient. However, you’re guaranteed to have more fun with this one. You get to choose the colour of your kite and tailor it to your liking.
If you’ve never made a kite before, or can’t remember how, Yello is here to guide you. We went ahead and did the hard work. Now all you have to do is purchase your kite, not tissue, paper and follow our steps. Be sure to buy a few extra sheets, because chances are you may get it right on the second try—we did.
Let the fun begin:
Here’s How to Make a Kite
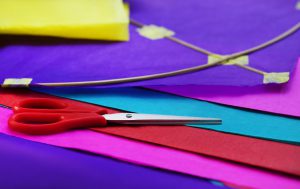
Kite supplies
- Kite paper
- Scissors
- Glue
- Three coconut spine sticks
- Cloth (bed linen)
- Reel of Thread
Instructions
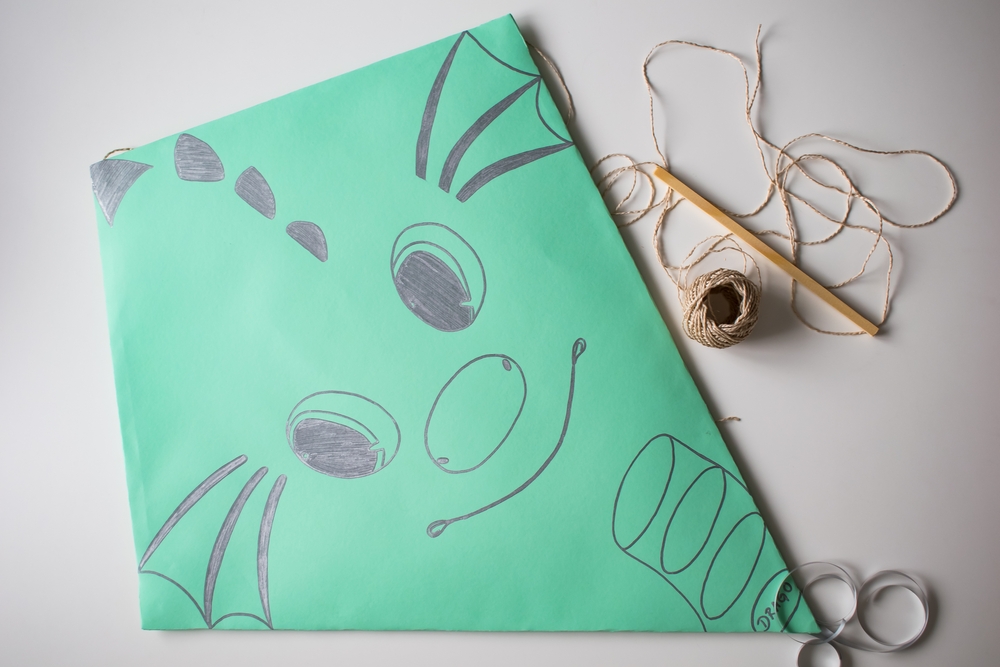
Cut the sheet squarely in two. Take one of the pieces and fold the edge creating a triangle. Cut excess and unfold.
Create the structure. Take one of the coconut strips and lay it diagonally on the kite. Use the tape to secure. Cut the excess, then cover the tape with a piece of kite paper.
Next, hold two strips with thread wrapping the thread along the length of the pieces. Keep the thread intact and place it against the kite creating an arc. Tie the thread to the other end of the arc creating a bow. Secure the bow’s ends with tape. Cover the tape by glueing a small patch of kite paper over it.

You can tape the top and centre of the bow in place. This helps to keep your kite well-balanced when in the air. Once again cover the tape with kite paper patches. Attach your twine or thread, and tie it to both sides of the bow.
For your tail, strip the cloth lengthwise about 2” wide. At the opposite end secure your tail using glue to hold the fabric in place. Once the glue dries, your kite is ready to fly.
Have fun with your handmade kite. Remember to stay clear of utility poles and wires.
Happy Easter!
Sources: China Highlights, Media India and WikiHow.