How to Make the Most of Your DIY Wall Painting Project
by Carolyn Lee Nov 20, 2023
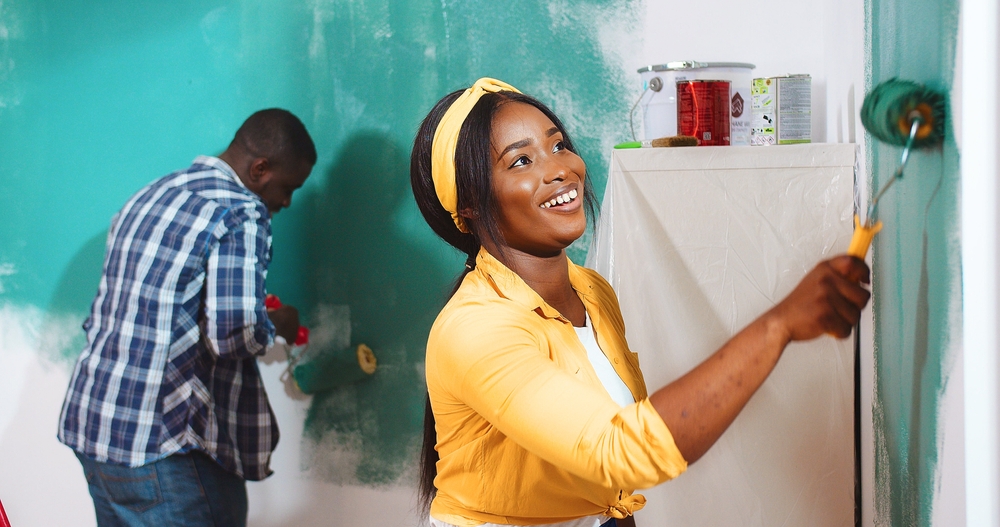
The holidays are fast approaching, and you might be preparing for minor renovations or painting projects. Although it can be exciting to undertake a paint job as a DIY project, some people can become apprehensive about the process and outcome. We want to help with a few tips that can guide you, especially if you are a beginner.
Do your budget.
Create a budget and include a list of the tools and materials, plus the type, colour, and amount of paint you’ll need. You may need a stepladder, paintbrush, bucket, drop cloth, paint tray, roller frame, sponge, flexible putty knife, and long-handle roller.
Select the paint.
Start by measuring the walls. If you are unsure, ask the assistant in the paint section of your hardware store or paint shop for help. When selecting the colour, remember the room’s physical space, furniture, and décor (accent pieces, wall art, pictures, etc.) are critical to the outcome.
Prepare the room.
Remove the furniture, wall accessories, and rugs from the room, if possible. You can also move large pieces of furniture to the centre of the room and cover them with a drop cloth. Use putty and a (putty) knife to overfill screw and nail holes slightly, then smooth the excess putty away with medium-grit sandpaper. Make sure to wipe down the walls with a sponge and warm water. You can use painter’s tape to cover permanent structures and outlets. For a clean line, ensure the end of the tape aligns precisely where the wall meets the trim.
Get ready to paint.
If you’re painting bare drywall or plan to use a lighter colour over a darker one, use just enough primer to cover the bottom of the painter’s tray. Ensure the primer doesn’t pool up at the sides to prevent it from drying out and causing drips. Then, prime and allow the walls to dry according to the package instructions.
Start painting.
Pour mixed paint into a small container you can hold in one hand. Use a two-inch brush to dip into approximately a third of the colour, then tap the brush against the side of the container to remove excess. Begin painting the areas around the trim about two or three inches from the tape. Try to work in four-foot sections to prevent marks that appear when it begins to dry.
To paint more extensive areas of the wall, use a roller. Fill the paint tray as you would with the primer and dip the roller into the tray. You can use the top of the tray to remove excess paint. Paint the wall in three-foot sections using a W motion. Fill empty spaces with vertical strokes without lifting the roller from the wall to ensure even coverage.
Clean up.
Most walls might not require two coats of paint, but if you use a double coat, remove the painter’s tape while the second coat is drying. Collect drop cloths, and ensure spills or splatters are dry before you move them. For latex and water-based paints, clean brushes with soapy water and use paint thinner, mineral spirits, or turpentine for oil-based paints.
Important points to remember.
Paint your wall from top to bottom using natural light, as this will help you get the best outcome. Painting in dim or harsh artificial lighting can result in imperfections and patches. During the painting process, ventilate the room by opening windows and doors to minimise drying time.
Please use our Find Yello listings to search for paint shops, hardware stores, home and garden stores, and other relevant businesses that can help you.
Sources: Country Living, Homes and Gardens, Real Simple, and Family Handyman.